
For the sourdough dough
- 100 g active sourdough starter, at peak activity
- 350 g bread flour
- 150 g all-purpose flour
- 250 g cold whole milk
- 50 g cold water
- 35 g granulated sugar
- 10 g fine sea salt
- 30 g unsalted butter, softened
- 1 large egg
For the butter layer
- 200 g unsalted European-style butter, preferably with at least 82% fat
- 1 tablespoon flour, optional, to help make the butter easier to work with
For the egg wash
- 1 egg
- 1 tablespoon milk or water
- Pinch of salt
Equipment
You will need a large mixing bowl, kitchen scale, rolling pin, parchment paper, a loaf pan approximately 9 x 5 inches, bench scraper, and pastry brush. A refrigerator is essential because the dough and butter must remain cold during lamination.
Step 1: Prepare the Dough
Begin by making sure your sourdough starter is active and bubbly. It should have risen significantly after feeding and smell pleasantly fermented rather than sharply acidic.
In a large bowl, combine the bread flour, all-purpose flour, milk, water, egg, sugar, and active sourdough starter. Mix until no dry flour remains. Cover the bowl and let the mixture rest for about 20–30 minutes.
This short rest allows the flour to hydrate and makes the dough easier to develop.
Add the salt and softened butter. Knead the dough by hand for 5–8 minutes, or use a stand mixer on low to medium speed until the dough becomes smoother and moderately elastic.
The dough should be soft and slightly tacky but should not feel excessively sticky.
Place it in a lightly greased bowl, cover, and leave it at room temperature for approximately 3–4 hours. During this time, perform two or three sets of stretch-and-folds, spaced about 30 minutes apart.
The dough does not need to double completely. Look for a noticeable increase in volume, bubbles around the edges, and a smoother, more elastic texture.
Once the initial fermentation is complete, cover the dough and refrigerate it for at least 4 hours, preferably overnight. Chilling makes the dough much easier to laminate.
Step 2: Prepare the Butter
While the dough is chilling, prepare your butter block.
Place the butter between two sheets of parchment paper. Using a rolling pin, gently pound and roll it into a rectangle approximately 20 x 15 cm.
The butter should be cold but flexible. This is extremely important. If the butter is too hard, it will break inside the dough. If it is too soft, it will smear and disappear into the dough.
Aim for a butter consistency similar to firm modeling clay.
Step 3: Laminate the Dough
Remove the chilled dough from the refrigerator and place it on a lightly floured work surface. Roll it into a rectangle approximately twice as long and slightly wider than your butter block.
Place the butter in the center of the dough and fold the dough over it, completely enclosing the butter. Pinch the seams gently to prevent the butter from escaping.
Roll the dough into a long rectangle, approximately 50–60 cm long. Work gently and evenly, applying steady pressure rather than forcing the rolling pin.
Fold the dough into thirds, like folding a letter. This is your first single fold.
Wrap the dough in plastic or parchment and refrigerate it for 30–45 minutes.
Repeat the rolling and folding process two more times, chilling the dough between each fold.
If the butter begins to soften or leak, stop immediately and refrigerate the dough until firm again.
After the final fold, refrigerate the dough for at least 1 hour before shaping.
Step 4: Shape the Loaf
Place the cold laminated dough on your work surface. Roll it into a rectangle roughly 30 x 40 cm.
For a beautiful layered loaf, cut the dough into three or four long strips. Stack the strips on top of one another, keeping the layers aligned.
Alternatively, you can cut the dough into several smaller rectangles and roll each piece loosely into a spiral. Arrange the rolls side by side in a greased loaf pan.
Do not pack the dough too tightly. It needs room to expand during its final proof.
Cover the pan loosely with plastic wrap or a reusable cover.
Step 5: Final Proof
Allow the shaped loaf to proof at a cool room temperature.
Because sourdough fermentation varies significantly with temperature and starter strength, rely on the appearance of the dough rather than the clock.
The loaf is ready when it has visibly expanded, feels light and airy, and gently jiggles when the pan is moved.
Depending on room temperature, this can take approximately 3–6 hours.
Avoid placing the dough somewhere extremely warm. Excessive heat can soften the butter and destroy the layers.
Step 6: Bake
About 30 minutes before baking, preheat your oven to 190°C (375°F).
Prepare the egg wash by whisking together the egg, milk or water, and a pinch of salt.
Brush the top of the proofed loaf gently with egg wash, being careful not to press down the delicate dough.
Place the loaf in the oven and bake for approximately 35–45 minutes.
The top should become deeply golden brown, and the loaf should feel firm when gently tapped.
If the top begins browning too quickly, loosely cover it with aluminum foil during the final part of baking.
For the most reliable result, the center of the loaf should reach approximately 93–96°C (200–205°F).
Remove the loaf from the oven and allow it to cool in the pan for about 10 minutes. Then carefully transfer it to a wire rack.
Let it cool completely before slicing. Cutting while it is still hot can compress the delicate interior.
Tips for Perfect Layers
Keep everything cold. Temperature is the most important factor when making laminated sourdough. If the butter melts into the dough, you will lose the distinct layers.
Use strong flour. Bread flour provides the gluten strength needed to support repeated rolling and folding.
Don’t rush fermentation. Sourdough relies on natural yeast, so fermentation time can vary. Watch the dough rather than following the clock exactly.
Don’t overproof. An overproofed laminated loaf may collapse and have greasy, dense layers.
Use good butter. Butter with a higher fat percentage generally produces better lamination and a richer flavor.
Storage
Once completely cooled, store the loaf in an airtight container or bread bag at room temperature for up to 2 days. For longer storage, slice and freeze individual portions for up to 2 months.
To refresh frozen slices, thaw them at room temperature and warm them briefly in a 160°C (320°F) oven.
Serving
Serve the croissant-style sourdough loaf slightly warm with butter, jam, honey, or fruit preserves. It is also excellent for French toast, grilled cheese, or simply eaten on its own.
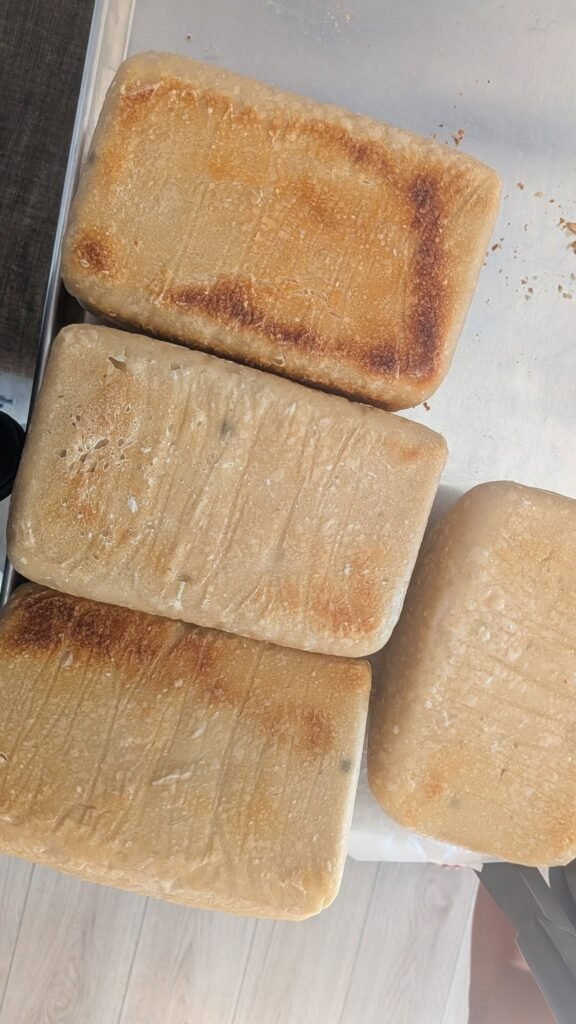
The finished loaf should have a crisp, deeply golden exterior, a buttery aroma, and a soft interior with visible laminated layers. The sourdough fermentation adds a subtle tang that balances the richness of the butter, creating a loaf that tastes somewhere between artisan sourdough bread and a classic croissant.
If you’d like, I can also turn this into a professional bakery-style recipe with baker’s percentages, exact fermentation temperatures, and a 2-day production schedule.