
Ingredients
- 100 g active sourdough starter
- 350 g lukewarm water
- 500 g bread flour
- 10 g salt
- 1 teaspoon olive oil, optional
- Extra flour or rice flour for shaping
Long Step-by-Step Instructions
1. Check Your Sourdough Starter
Make sure your starter is active and bubbly before beginning. A healthy starter should have plenty of bubbles and should have risen noticeably after feeding.
An active starter helps the dough ferment properly and gives the bread its characteristic sourdough flavor.
2. Mix the Flour and Water
Add 500 g flour and 350 g water to a large mixing bowl.
Mix until there are no obvious dry patches of flour.
Cover the bowl and let the mixture rest for about 30 minutes. This resting period helps the flour absorb the water.
3. Add the Starter
Add 100 g active sourdough starter.
Mix thoroughly by hand or with a dough scraper until the starter is evenly distributed throughout the dough.
4. Add the Salt
Sprinkle 10 g salt over the dough.
Work it into the dough using wet hands. Pinch and fold the dough several times until the salt is incorporated.
The dough may feel sticky at first, but don’t add lots of extra flour.
5. Begin Stretching and Folding
Cover the bowl and let the dough rest for about 30 minutes.
Then perform your first stretch and fold.
Grab one side of the dough, gently stretch it upward, and fold it over the center.
Turn the bowl and repeat on the other sides.
Do this every 30 minutes for about 2 hours.
As you continue folding, the dough should become smoother, stronger, and more elastic.
6. Bulk Fermentation
After the stretch-and-fold stage, cover the bowl and leave the dough at room temperature.
The exact fermentation time depends on room temperature and starter activity, but it commonly takes around 4–8 hours.
Look for a dough that has become noticeably larger, smoother, and somewhat airy.
Don’t rely only on the clock—the appearance and feel of the dough are important.
7. Shape the Dough
Lightly flour your work surface.
Carefully turn the dough out onto the surface.
Gently shape it into a round by folding the edges toward the center.
Turn it over so the seam is underneath.
Use your hands to gently create surface tension by pulling the dough toward you across the work surface.
Don’t aggressively squeeze the air out.
8. Prepare the Proofing Basket
Generously flour a banneton or clean bowl lined with a kitchen towel.
Rice flour works particularly well because it helps prevent the dough from sticking.
Place the shaped dough into the basket with the seam facing upward.
9. Final Proof
Cover the dough.
You can proof it at room temperature for a few hours, or refrigerate it overnight.
An overnight cold proof can make the dough easier to score and can develop a deeper sourdough flavor.
10. Preheat the Oven
Place a Dutch oven or other suitable covered baking vessel inside the oven.
Preheat the oven to approximately 240°C (465°F).
Allow the Dutch oven to become thoroughly hot before baking.
11. Prepare the Dough for Baking
When you’re ready to bake, carefully turn the cold dough onto a sheet of parchment paper.
Dust off any excess flour.
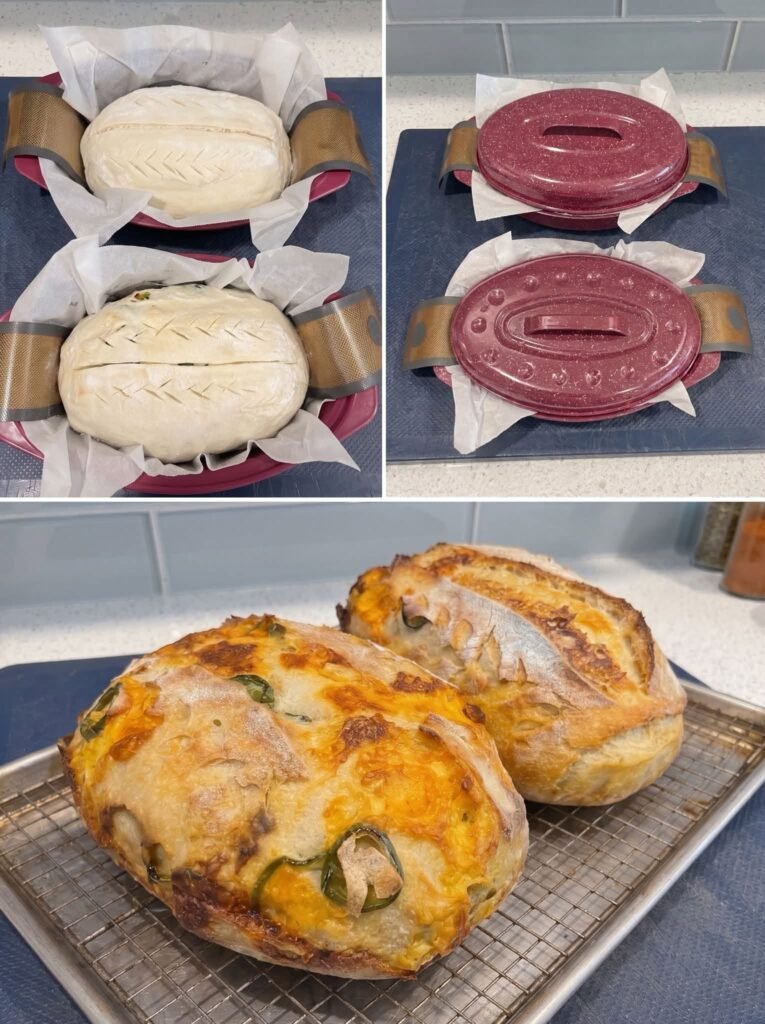
Use a very sharp bread lame or suitable scoring tool to make one deep slash across the top.
The score gives the bread a controlled place to expand during baking.
12. Transfer to the Hot Dutch Oven
Carefully lower the dough into the preheated Dutch oven.
Be extremely careful because the vessel and lid will be very hot.
Cover with the lid.
13. Bake Covered
Bake at 240°C (465°F) for approximately 20 minutes with the lid on.
The trapped steam helps the loaf expand and keeps the crust from setting too quickly.
14. Remove the Lid
After 20 minutes, carefully remove the lid.
Reduce the oven temperature to approximately 220°C (425°F).
Continue baking for another 20–25 minutes, or until the loaf is deeply golden brown.
15. Check the Bread
The loaf should have a crisp crust and sound hollow when tapped underneath.
If you have an instant-read thermometer, the center is generally fully baked around 96–99°C (205–210°F).
16. Cool Completely
Remove the bread from the Dutch oven and place it on a wire rack.
Allow it to cool for at least 1–2 hours before slicing.
This is important because the interior continues to set as the bread cools.
Cutting it too early can result in a gummy or compressed crumb.
🔥 Tips for Perfect Roasted Sourdough
- Use an active, bubbly starter.
- Don’t add excessive flour just because the dough feels sticky.
- Give the dough enough time to ferment.
- Build dough strength with regular stretch-and-folds.
- A properly preheated Dutch oven helps create excellent oven spring.
- Bake covered first, then uncovered for a crisp crust.
- Let the loaf cool completely before slicing.
🧈 Serving Ideas
Fresh roasted sourdough is delicious with:
- Salted butter
- Olive oil and herbs
- Avocado
- Scrambled eggs
- Cheese
- Tomato and basil
- Soup
- Homemade jam
- Honey
The finished loaf should have a deep golden, crunchy crust with a soft, airy and slightly chewy center. 🍞